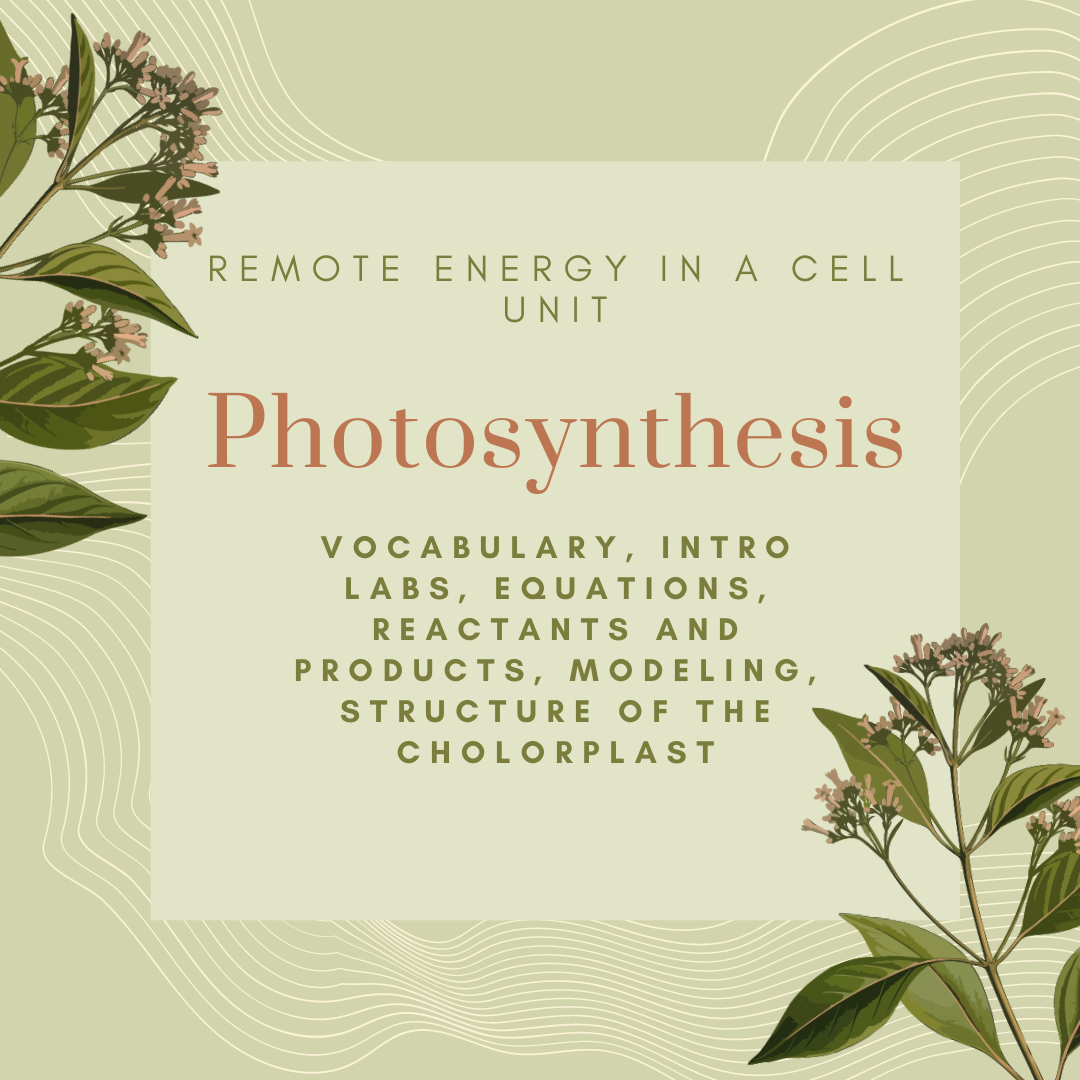
 This unit includes photosynthesis and cellular respiration. I usually start with photosynthesis, as there are many hands on activities that students can really see and measure photosynthesis happening. This lesson is the first in the unit sequence and can be done synchronously or asynchronously. This lesson is ready to go and includes a teacher and student version. As with 99% of my lessons, this is in the interactive digital notebook format, with each slide representing one "page" Don't forget to scroll to the bottom for a preview of this lesson! Here is the breakdown of this lesson: Title Slide Slide 1-3: Vocabulary- Students drag the words to the correct definition. This is important, as students can come back and refer to this list later. Slide 4 : Structure of the chloroplast- Students drag the labels to the correct location on the chloroplast. Slide 5- 22: Figuring out photosynthesis- Students move through different "stations" and use the reaction of the indicator bromothymol blue (BTB) to help figure out what is needed in order for photosynthesis to occur. This is also a great example of the need for controls during an experiment. Carbonated water and tap water are placed in beakers along with BTB. They are either covered with foil or placed under lamp. In the later stations, elodea is added , and students must critically think about why they are seeing certain results. As students move through the stations, they circle what is included in the set up and record observations in the "after" stations. Students then answer an analysis question. They must use evidence from the stations to support their claim. This is a very inquiry based activity and makes students think! Slide 23: Photosynthesis and autotrophs- Now that students have some idea of what is needed for photosynthesis, they drag the reactants and products of photosynthesis to the correct location in the image of a plant. Slide 24: Photosynthesis Equation- Students now must drag the reactants and products of the photosynthesis equation onto the correct location. Slide 25-29: Modeling Photosynthesis- Different colored circles represent oxygen, hydrogen and carbon atoms. Students must first the raw materials needed for photosynthesis. They drag the circles to form water and carbon dioxide molecules. This will also show them why there is a 6 in from of CO2 and H20 in the photosynthesis equation. The bonds between the molecules are then broken as they go through different biochemical processes. Student then arrange the same atoms into the products of photosynthesis, glucose and oxygen. Students are then asked to count the total number of atoms in the reactants and the products. Students will notice that they are the same. They are then asked why they think that is. They are then asked where the energy to break the bonds came from. By the end of this lesson, your students will have a understanding of the reactants and products of photosynthesis, along with the equation of photosynthesis and where the process occurs. They would have also heard of the Calvin Cycle and the Light Reaction. For most students, this is the perfect amount of depth. If you have more advanced students, keep an eye out for my next lesson, which includes detailed modeling for each step of photosynthesis. Interested in this lesson? Check out my TpT Store!
0 Comments
Leave a Reply. |
AuthorWrite something about yourself. No need to be fancy, just an overview. Archives
August 2021
Categories |
 RSS Feed
