 This unit includes photosynthesis and cellular respiration. I usually start with photosynthesis, as there are many hands on activities that students can really see and measure photosynthesis happening. This lesson is the first in the unit sequence and can be done synchronously or asynchronously. This lesson is ready to go and includes a teacher and student version. As with 99% of my lessons, this is in the interactive digital notebook format, with each slide representing one "page" Don't forget to scroll to the bottom for a preview of this lesson! Here is the breakdown of this lesson: Title Slide Slide 1-3: Vocabulary- Students drag the words to the correct definition. This is important, as students can come back and refer to this list later. Slide 4 : Structure of the chloroplast- Students drag the labels to the correct location on the chloroplast. Slide 5- 22: Figuring out photosynthesis- Students move through different "stations" and use the reaction of the indicator bromothymol blue (BTB) to help figure out what is needed in order for photosynthesis to occur. This is also a great example of the need for controls during an experiment. Carbonated water and tap water are placed in beakers along with BTB. They are either covered with foil or placed under lamp. In the later stations, elodea is added , and students must critically think about why they are seeing certain results. As students move through the stations, they circle what is included in the set up and record observations in the "after" stations. Students then answer an analysis question. They must use evidence from the stations to support their claim. This is a very inquiry based activity and makes students think! Slide 23: Photosynthesis and autotrophs- Now that students have some idea of what is needed for photosynthesis, they drag the reactants and products of photosynthesis to the correct location in the image of a plant. Slide 24: Photosynthesis Equation- Students now must drag the reactants and products of the photosynthesis equation onto the correct location. Slide 25-29: Modeling Photosynthesis- Different colored circles represent oxygen, hydrogen and carbon atoms. Students must first the raw materials needed for photosynthesis. They drag the circles to form water and carbon dioxide molecules. This will also show them why there is a 6 in from of CO2 and H20 in the photosynthesis equation. The bonds between the molecules are then broken as they go through different biochemical processes. Student then arrange the same atoms into the products of photosynthesis, glucose and oxygen. Students are then asked to count the total number of atoms in the reactants and the products. Students will notice that they are the same. They are then asked why they think that is. They are then asked where the energy to break the bonds came from. By the end of this lesson, your students will have a understanding of the reactants and products of photosynthesis, along with the equation of photosynthesis and where the process occurs. They would have also heard of the Calvin Cycle and the Light Reaction. For most students, this is the perfect amount of depth. If you have more advanced students, keep an eye out for my next lesson, which includes detailed modeling for each step of photosynthesis. Interested in this lesson? Check out my TpT Store!
0 Comments
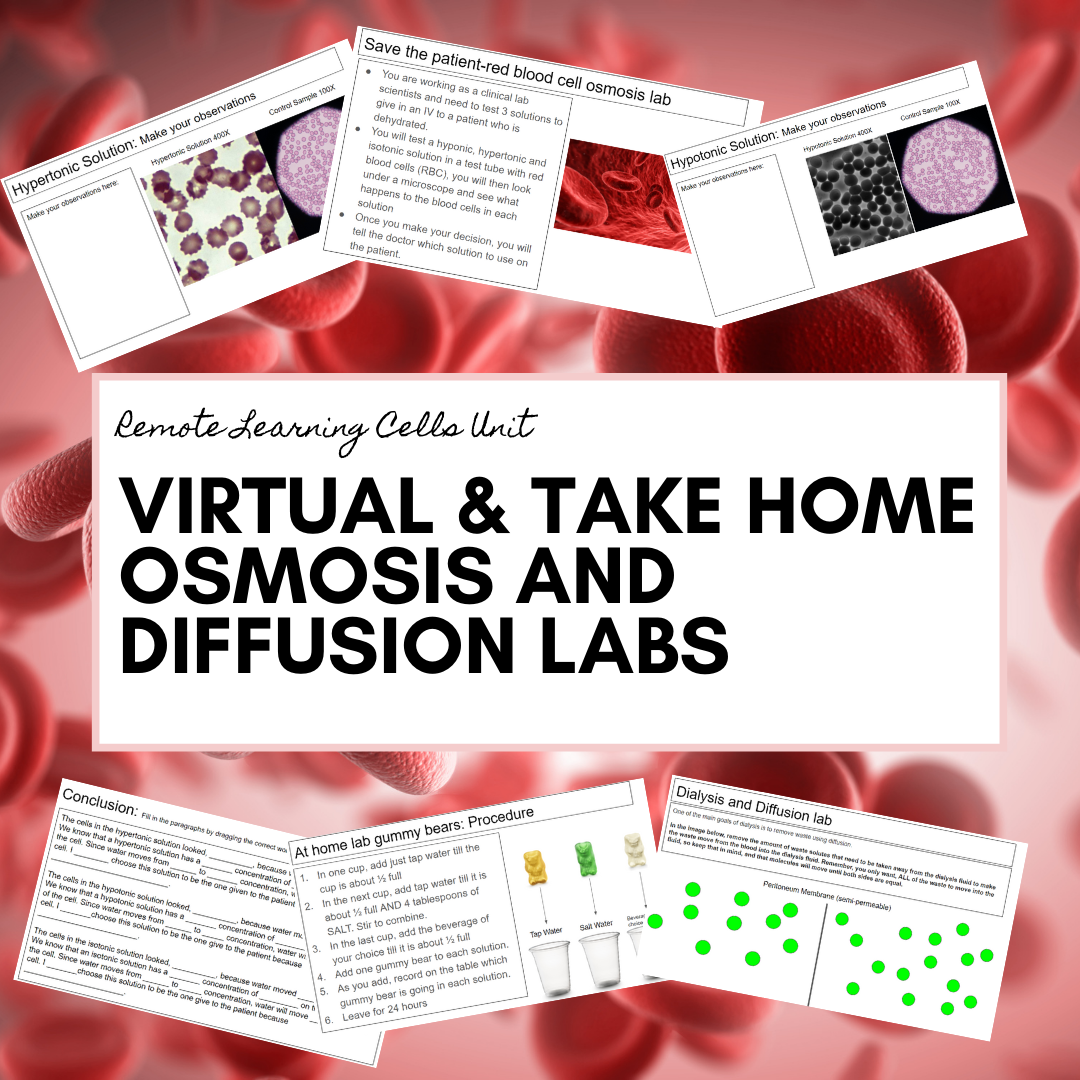 There are so many LAbs that I use during this unit. Sometimes they are as demos and other times students do them in groups. I created more virtual labs that would be relevant to real world learning as well as some classic labs in a take home format. Very few materials are needed and they are all easy to find. Most families should already have a number of these materials already.  This lesson follow my lessons on Cell Basics, Monster Cell Breakout Game, and the Cell Membrane and Homeostasis lesson. These lessons are ready to go and include both the teacher and student versions, so you can edit as necessary. As with all my remote unit lessons, these are formatted in a digital interactive notebook manner, with each slide representing one "page" of a notebook. I have liked this format so much that I may never go back to the paper and glue interactive notebooks. There is definitely more work on my end initially, but I feel that the students get the same or better versions of content and there is no wasted time gluing, taping or cutting to add items into the notebook. In this lesson, I try to combine information slides with interactive processing slides as well as a good amount of real world connections to cell transport since this such an abstract concept for students to grasp. I made sure to break down all the "pieces" that they need to understand the more complex topics such as hypertonic, hypotonic and isotonic solutions. Make sure to scroll to the bottom for a video preview! Here is a breakdown of the lesson: Title Slide Slide 1: Solutes and solutions- Students are introduced to the idea of solutes, solvents an solutions with images included. Slide 2: Solutes and solutions- Students are given common solutions they would be familiar with and must determine what the solute is and the solvent. Slide 3-5 : High Concentration vs. Low Concentration- Students are introduced to what a high and low concentration means in a solution. Students then look at examples and determine which has the lower concentration and which has the higher concentration. Students are then given examples of a water and salt solution. In each example, students must label if the water or the salt has a higher concentration. This helps reinforce the idea that these are inverse relationships, either the water or the salt has the higher concentration, not both and that there is a finite amount of space that these molecules can occupy. Slide 6: Equal Concentration- Introduces students to the concept of equilibrium. Slide 7: Concentration Gradient- Introduces students to the concept of a concentration gradient with images. Slide 8-9: Concentration gradient always moves from H to L- Shows students how a concentration gradient occurs and how it will move from H to L concentration until it reaches equilibrium. Students are then given images of the inside and outside of the cell and must drag arrows to show which directions the molecules will move. Slide 10: With the concentration gradient or against the concentration gradient- Students are introduced to the idea of how molecules can move with or against a concentration gradient. They are then given 3 examples and must determine if the direction of movement is with or against the concentration gradient. Slide 11: Passive Transport Overview- Students are given an overview of what passive transport entails with images. Slide 12-13: Passive Transport Diffusion- Students are given more specific information on what diffusion is. Students are then shown an image of a tea bag in a mug and must describe how diffusion explains what is occurring. Students are then given the example of lungs and gills as a real world connection to diffusion. Students then use their understanding to explain how oxygen travels into the alveoli of the lungs using an image. Slide 14-19: Passive Transport Osmosis- Students are given more information on osmosis. Students must them draw an arrow on the image to indicate which direction water will move. On the next slide, students are reminded about concentration gradients and how water operates in that same idea. They are then given 3 scenarios where the concentrations of water or solute are given and they must draw arrows to indicate the movement of water. This asses their understanding of the relationship between water and solute concentration and movement of water. Students are then introduced to the 3 types of solutions with images: hypertonic, isotonic and hypotonic solutions. On the next slide, students are given 3 scenarios where they have to determine which is hyper, hypo or isotonic along with the direction of the movement of water and how that will affect the cell. Students will then read a short article about the "soy sauce challenge" and "water challenge", as well as watch news clips, and relate that back to osmosis and its affects on the brain. Slide 20-21: Passive Diffusion Facilitated Diffusion- Students are reminded of the idea of facilitated diffusion with an image. Students are then given a real world example of how facilitated diffusion is used in our bodies. Slide 22-24: Active Transport- Students are given general details on what constitutes active transport and a few of the types with images. Students are then given more detail about endo and exocytosis and the sodium potassium pump. Slide 25: Putting it all together graphic organizer- Students must drag the correct labels and descriptions onto the graphic organizer to summarize all the different types of transport covered in this lesson. Interested in this lesson? Check out my TpT store!  This lesson works great following my Cells Basics Lesson and the fun Cells Monster Breakout Room Game. Included is a editable teacher version and a ready to go student version. As with most of my lessons, this is in a Digital Interactive Notebook format for students, with each slide representing one "page" of a digital notebook. Make sure to scroll to the bottom for a video preview. Here is the breakdown of the lesson: Title Slide Slide 1-3: House Analogy- The cell is compared to a house to help students understand the need for controlling what enters and exits the cell. Students answer questions about the analogy to help them understand the comparison. Slide 4-7: The cell membrane and homeostasis- Homeostasis is defined. Students are given different scenarios based on body temperature, and must answer questions based on their prior knowledge of how the body maintains homeostasis. Slide 8: Help the cell membrane maintain homeostasis- Students drag the nutrients into the cell and the waste out of the cell in order to help it maintain homeostasis. This helps students understand what needs to enter the cell and what needs to exit. Slide 9: Hydrophobic vs. Hydrophilic- The concepts of phospholipids making up the membrane and introduced along with the parts of the phospholipid that is hydrophobic and hydrophilic. Students then digitally color the phospholipid, color-coding the label with the correct part o the lipid. Slide 10-12: Cell Membrane Structure- Students are introduced to the phospholipid bilayer and how it forms. They are also introduced to the fluid mosaic model. Slide 13: Selectively Permeable- Students are introduced to the idea that the cell membrane is selectively permeable and the types of molecules that can easily pass through the membrane. Slide 14: Build a membrane- Using the knowledge gained in the previous slides, students drag the components of the cell membrane onto the slide and build a cell membrane. They then drag the labels onto the slide and place them in the correct position. Slide 15-17: Examples of homeostasis- Students are given examples of the cell regulating homeostasis. The first example includes too much glucose in the blood stream, the second is not enough glucose in the blood stream and the third is too much CO2 in the blood stream. Students must drag the molecules to the correct locations on the slide in order to maintain homeostasis. Slide 18: When homeostasis is not maintained- Students are told the conditions that occur if homeostasis is not maintained in the body. Students then research further on each condition to understand it fully. Interested in this lesson? Check out my TpT store.  This game goes with my Cells Basics Remote Learning Lesson Plan. In this digital breakout game, student have to use their knowledge of organelles, types of cells and the cell theory to solve the monsters' riddles and make it through the cave to safety! This could be used as a formative or summative assessment or just a fun way to engage students about cells, organelles and the cell theory! Make sure to scroll to the bottom to see a video preview! Here is the breakdown of the game: Starting Slide: You are lost in the woods. You find a cave and see the way out on the other side, but Oh No, there is a monster blocking your way. Students must solve his riddles before they can pass. Students click on the link to take them to the first set of riddles, Riddle Set 1: In the first set, students are given a description of an organelle in riddle format. Students must decide which organelle it matched. Once students answer correctly, they then click on the link to go to the next riddle. Riddle Set 2: Next, students are given the name of an organelle and must match it with the correct riddle description. Once students answer correctly, they then click on the link to go to the next riddle. Riddle Set 3: Students are given a paragraph and must use the word bank to fill in the paragraph. These paragraphs require knowledge about the similarities and differences between eukaryotic, prokaryotic, animal and plant cells. Once students answer correctly, they then click on the link to go to the next riddle. Riddle Set 4: Students are given an encrypted code. To get the key for the code, they must answer a question about cellular levels of organization. Once students answer correctly, they then click on the link to go to the next riddle. Riddle Set 5: Students use the decoded words as the word bank for the last set of paragraphs. Students require knowledge about the cell theory and multicellular and unicellular cells. Once they do that, they win! Interested in this lesson? Check out my TpT Store! 10/11/2020 0 Comments Remote Cells Units: Cell Basics All of my "basics" lessons really get at everything students need to know without all the extra fluff. This is especially important with remote learning as we lose so much time because of technical issues, distractions at home etc. Or in class, where students have to be temperature checked or sanitize equipment during class. Make sure to scroll to the bottom for a video preview! Here is a breakdown of this lesson: Slide 1:Cell True/False- Students are given 10 statements and must activate their prior knowledge to try to answer these. I usually make these fun and let students guess. Then we have a discussion after as we go through each one. Slide 2-6: Cell Theory Guided Reading: Students read a very basic description (ELL and SPED friendly) of the cell theory and how it came about. They answer questions as they read. Slide 7: Cell Theory Images: Students are given 3 images of the different parts of the cell theory. They must match the picture with each part of the cell theory. Slide 8: Cellular Levels of Organization: Students are given images of the levels (cells, tissues, organs, organ systems, organism) and must place the correct picture and word on each correct part of the pyramid. The most basic goes at the bottom as it is the foundation, and then they work their way up. The pyramid also represent the fact that the higher levels are built from the lower levels. Slide 9: Organelle Function Matching: Students are given a picture and description of the major organelles. Students must then drag the correct organelle name to the correct match. Slide 10: Unicellular vs. Multicellular: Students are introduced to the concepts of unicellular vs. multicellular organisms. Students must sort the given pictures either as unicellular or multicellular. Slide 11-12: Eukaryote vs. Prokaryote: Students are given a Venn Diagram as well as pictures and description to drag to the correct location on the diagram. On the next slide, students must drag the correct labels to the correct locations on the eukaryote and prokaryote cell. Slide 13-14: Animal vs. Plant: Students are given a Venn Diagram as well as pictures and description to drag to the correct location on the diagram. On the next slide, students must drag the correct labels to the correct locations on the animal and plant cell. Slide 15-16: Cell Analogy: Students are given a story and each underlined word represents one part of the cell. Students must use their knowledge gained to determine which part of the story represents which part of the cell. Slide 17: Cell Analogy Project: Students are given instructions to create their own analogy of a plant cell. Make sure to include your due date for the project. Interested in this lesson? Check out my TpT store. |
AuthorWrite something about yourself. No need to be fancy, just an overview. Archives
August 2021
Categories |
 RSS Feed
