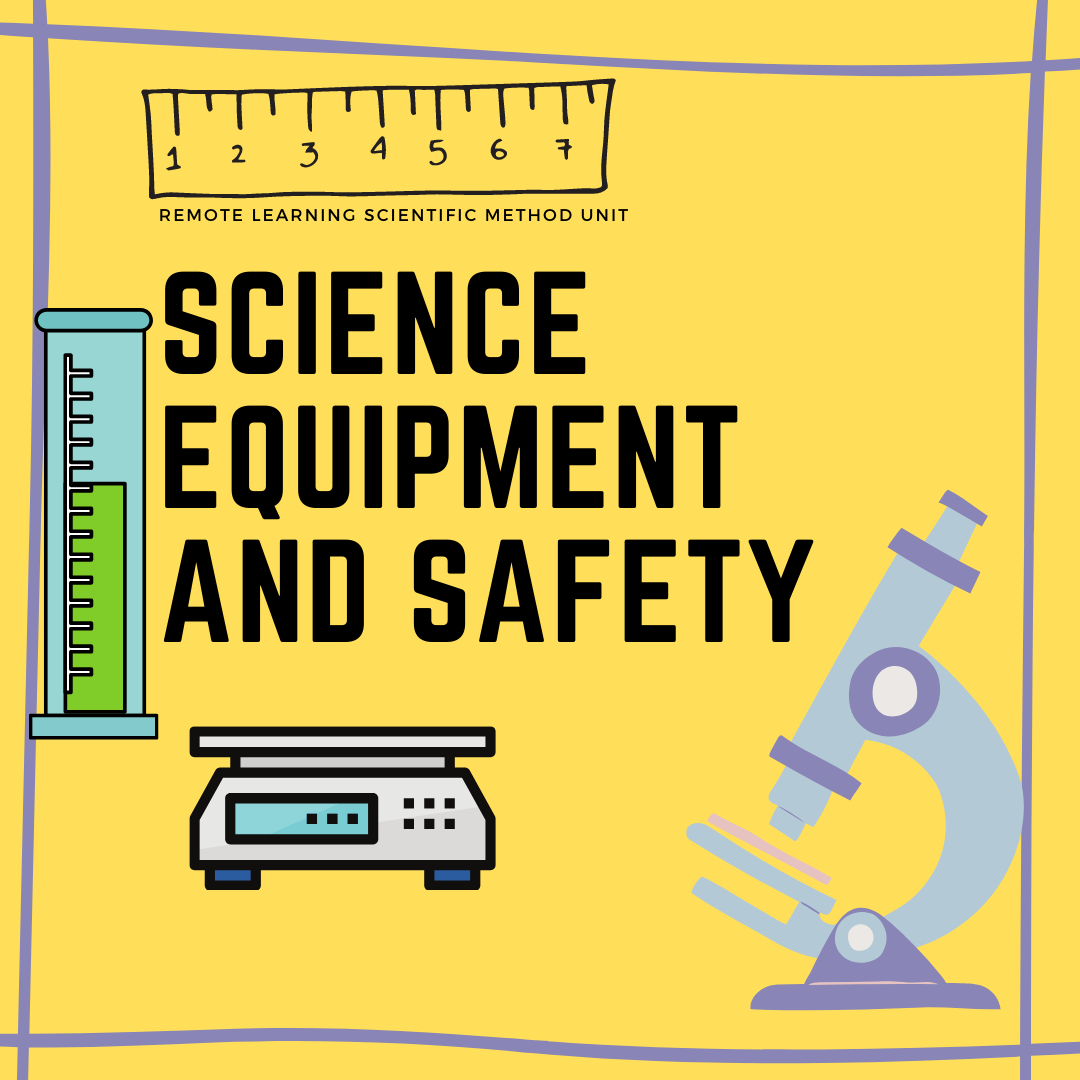
 The question is: How do I go over how to use safety equipment when my students have none at home? This lesson is your answer! If nothing else during this time, I have really learned how to be creative in getting students the "hands-on" learning that they need. This section of the year can be particularly dry, yet it is SO important. Safety rules are interesting as most of them are common sense ( you would think) and students have heard them over and over since they were in elementary school. That is why I don't spend a ton of time going over the rules outright, however, I have students analyze issues with case studies. This is one of the best ways I have found that gets students thinking without boring them out of their minds. And at this point of the year, they are still scared of me (lol) so that WOULD let me bore them out of their minds. Later in the year, not so much. Gotta love the honeymoon phase. This lesson includes both the teacher slides as well as the student digital notebook to accompany it. So you are all set! The breakdown below is for the student digital notebook. Also be sure to scroll down to the bottom for a video preview. Here is the breakdown of this lesson: Title Slide Slide 1: Welcome/ Do Now- Students view a microscope slide image and make observations about it. They also record the learning target for the day. Slide 2: Science Tools Ruler- Students measure the beetle on the slide by dragging the ruler in to measure. Students then practice converting mm to cm. Slide 3 : Science Tools Electronic Balance- Students write down two different measurement by reading them on the balance. If you want to discuss significant figures, then this would be a good time to do that. Students also practice converting g to kg. Slide 4: Science Tools Graduated Cylinder- Students learn how to properly read a graduated cylinder and must record the measurements on two different examples. Students also practice converting ml to L. Slide 5: Microscope virtual lab: Using the link provided, students learn about the different parts of the microscope. Students them label the microscope parts in their notebook. Slide 6-9 : Microscope virtual lab: Using the same link, students view different microscope slides and practice drawing what they see as well as record some observations about each slide. Slide 10: Measure you favorite object- This is used as both a "get to know you" activity as well as a hands-on activity. Students use a ruler or a link to the apps provided for a digital ruler, to measure the length and width of an object in their house that brings them joy. Students can then be broken into smaller "breakout" rooms where students share the measurements and other students have to guess what it is. After 3 guesses, then the student reveals the object and explains why it is important to them. This is basically big kid "show and tell". Slide 11: Which tool works best- This relates back to the learning target provided. Students are given 4 different experiment scenarios and must decide which of they tools they learned about would be appropriate to measure this particular set of data. Slide 12: Virtual Classroom Safety Tour- Teachers can walk around the room with an show the class the different safety equipment such as the eye wash, safety shower etc. I left this open for the teacher to customize the student notebook to fit their particular room placement. Students will then drag the safety items into their location in the room layout. Slide 13: Safety Case Study- Students read the paragraph describing what is happening in an experiment. They count the number of safety rules broken and then write below how they would solve those issues. Slide 14: Safety Meme- Students are given a link to help them create a meme about a safety rule. Students will take a screen shot and paste it in their digital notebook. Interested in this lesson? Check out my TpT store.
0 Comments
Leave a Reply. |
AuthorWrite something about yourself. No need to be fancy, just an overview. Archives
August 2021
Categories |
 RSS Feed
